Installation
1. Log in to your Shopify store's admin
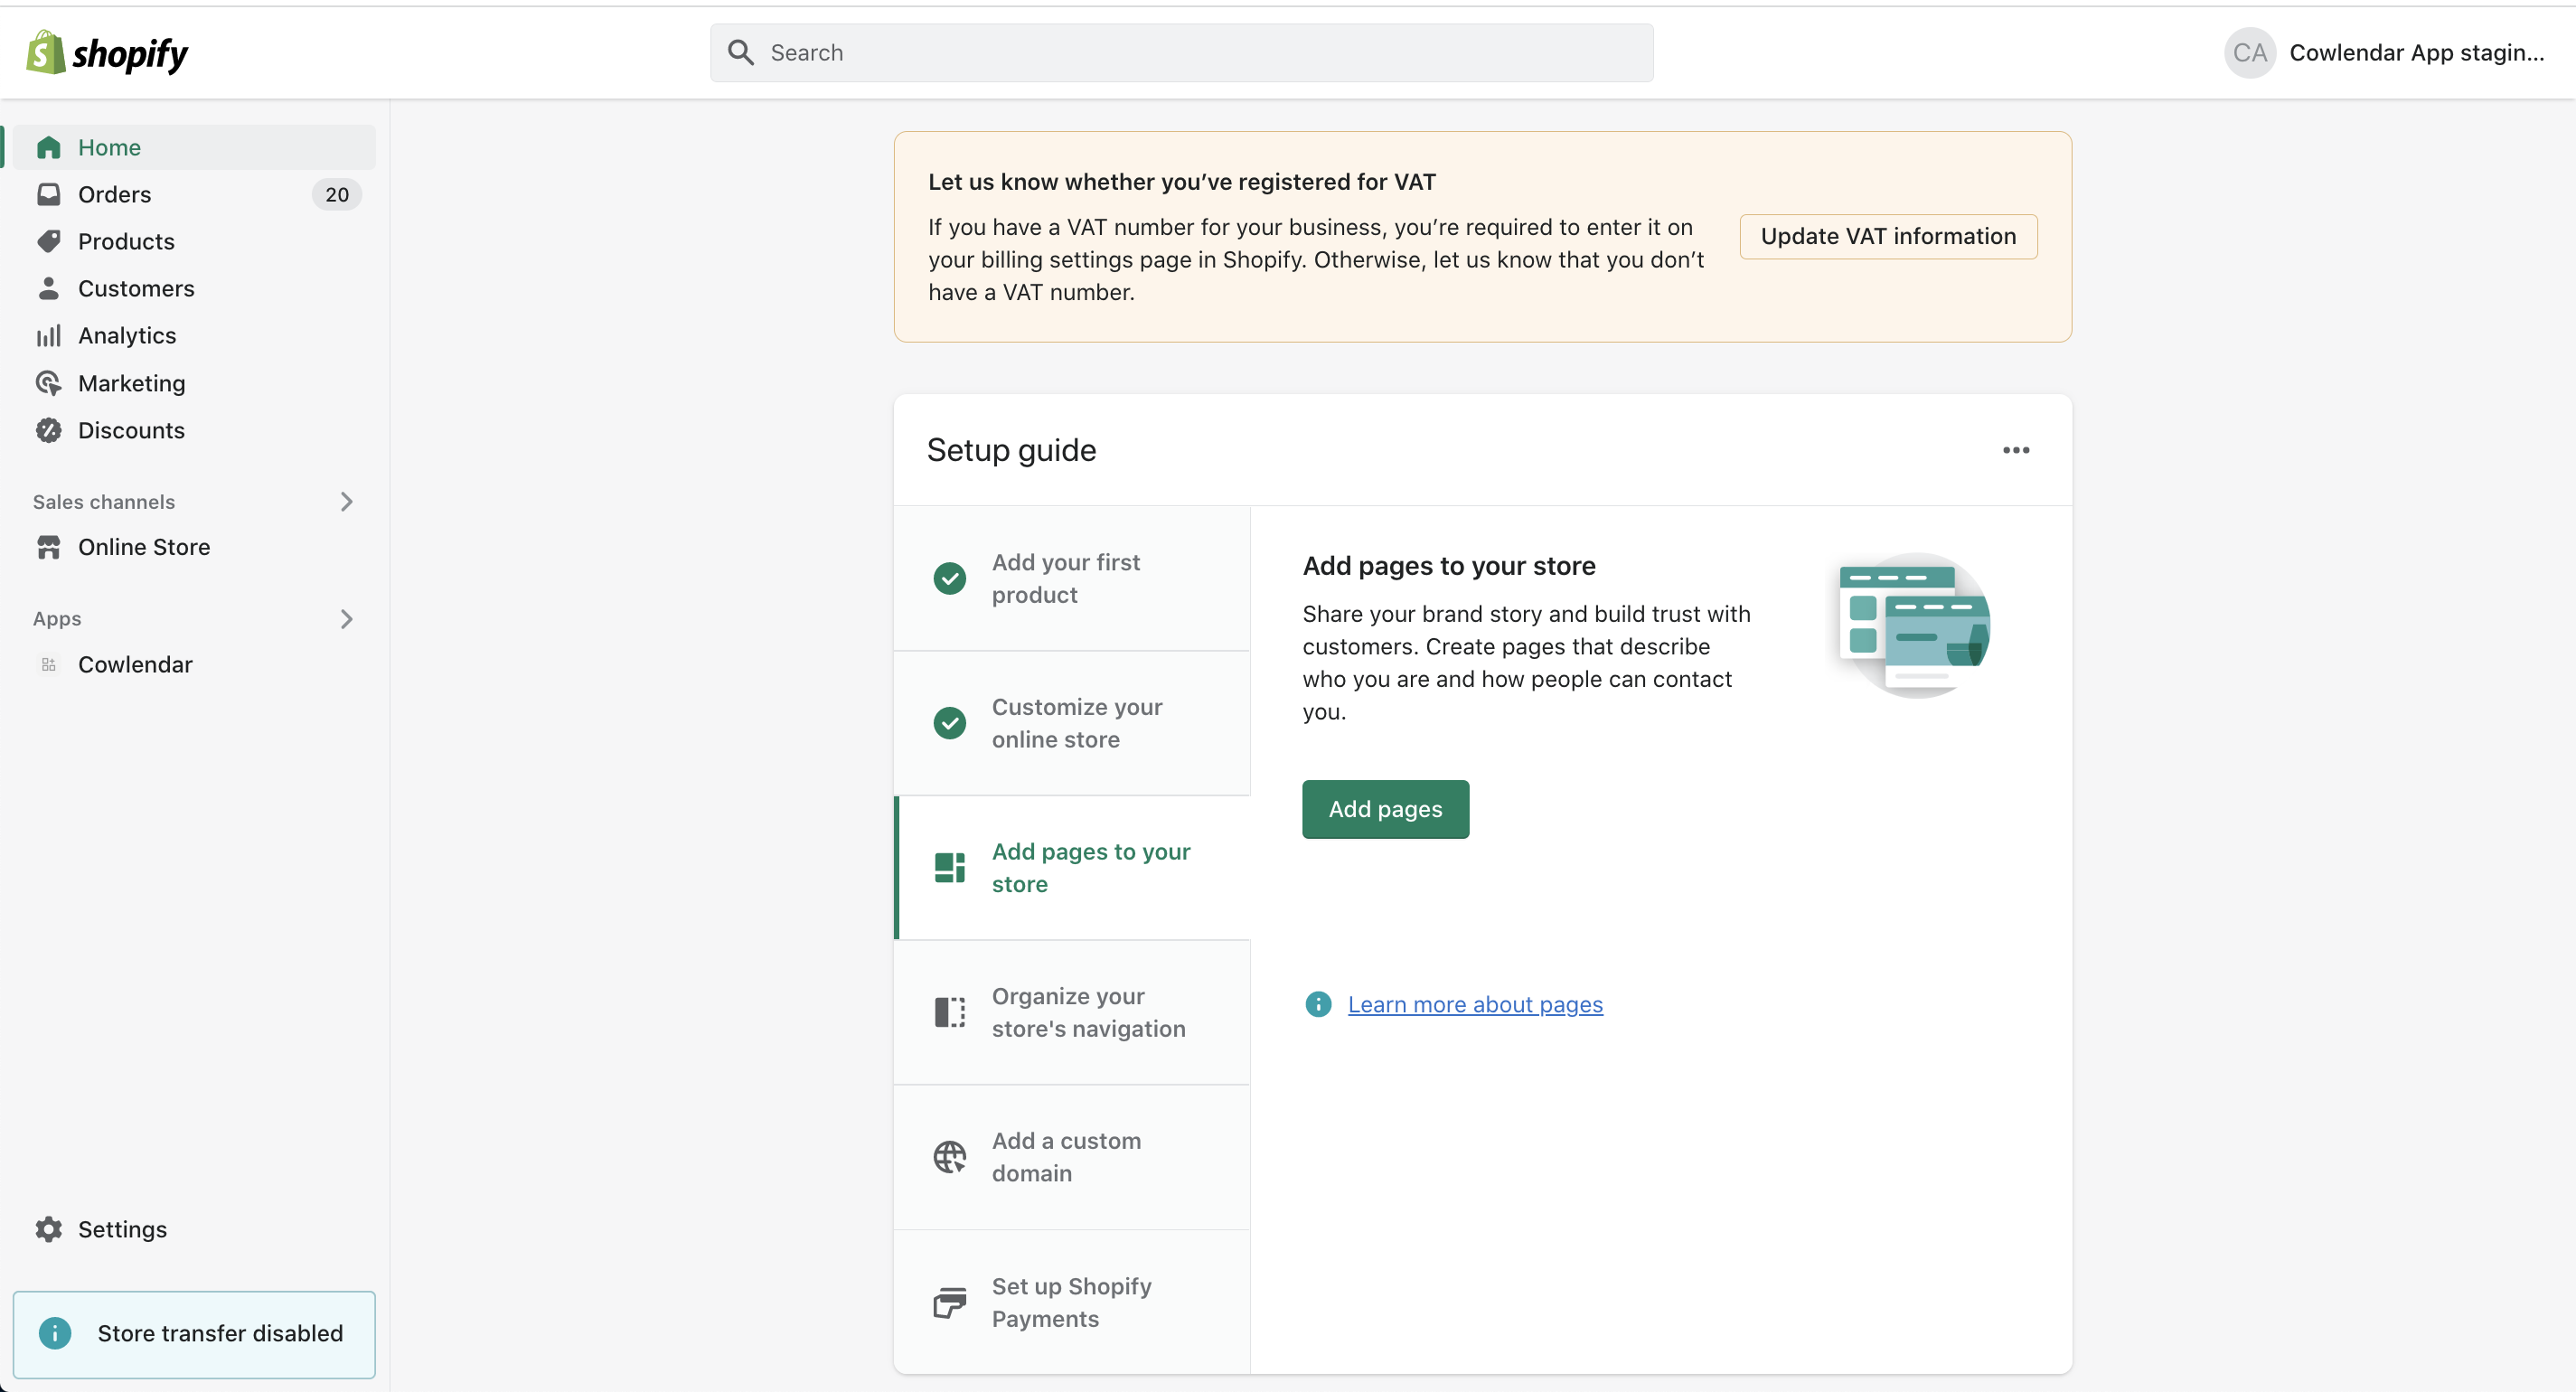
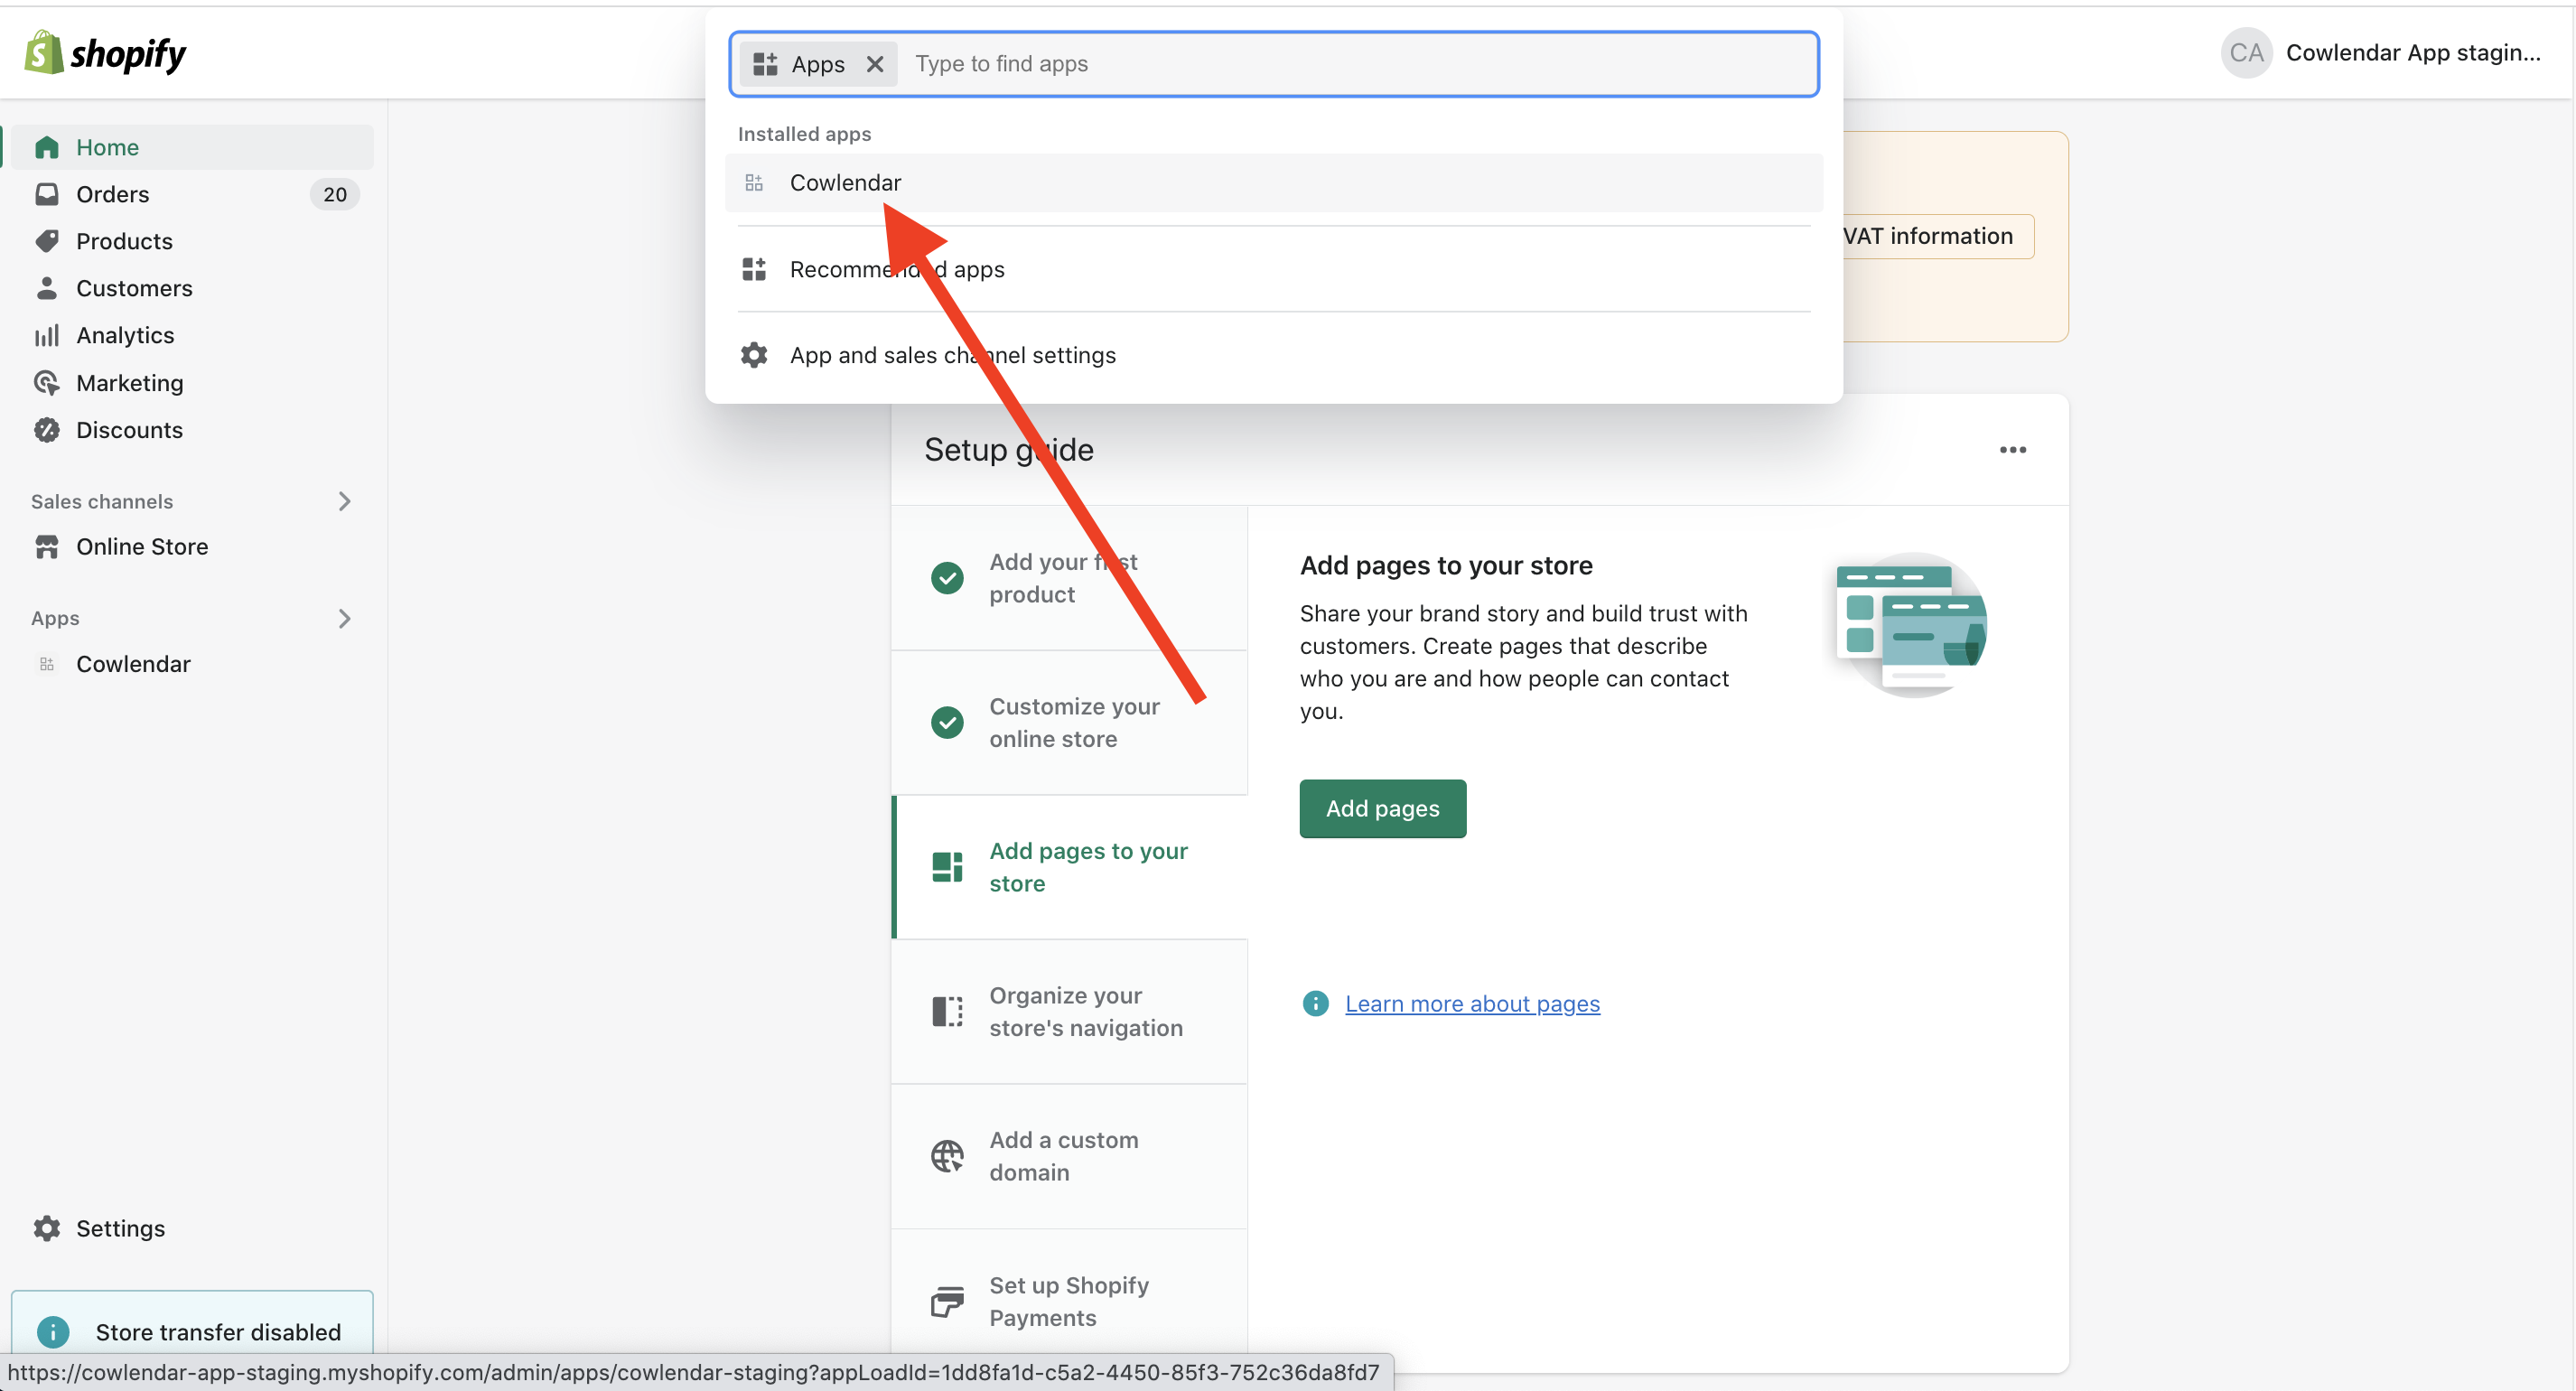
2. Click Apps menu item on the left
3. Select Cowlendar app
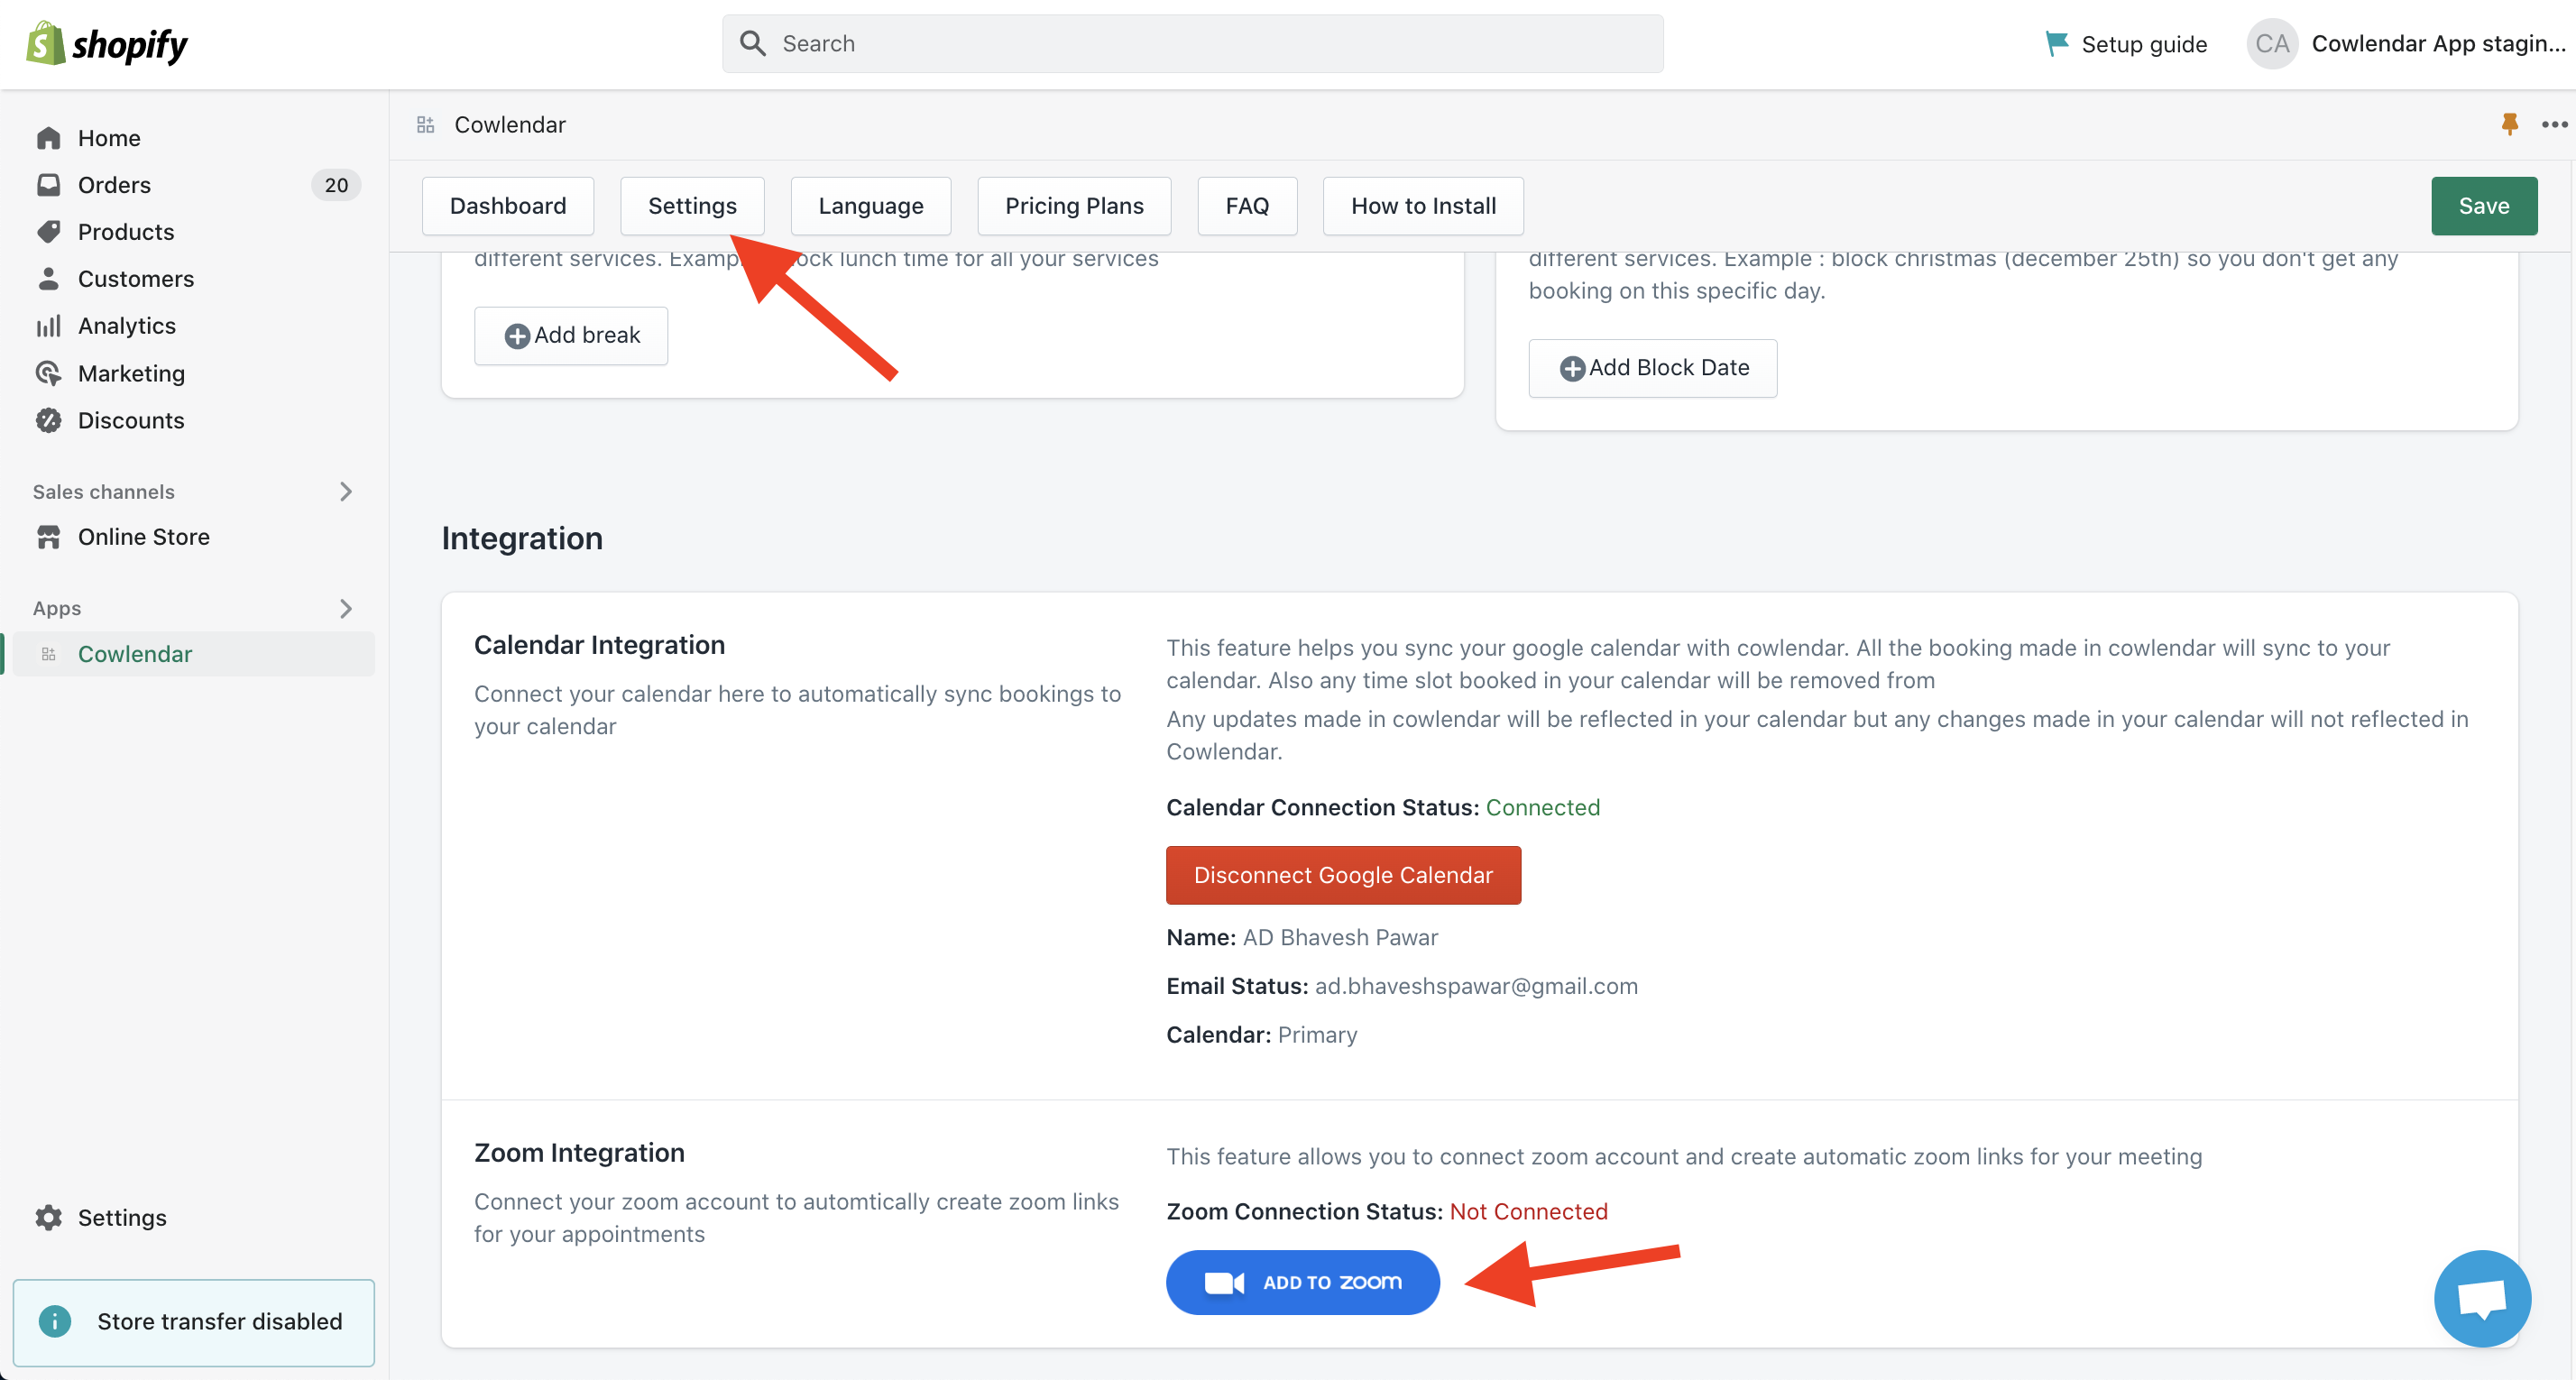
4. In the top navigation menu click Settings tab and scroll to the bottom of the page and click Connect Account to enable integration with Zoom
5. Confirm authorization
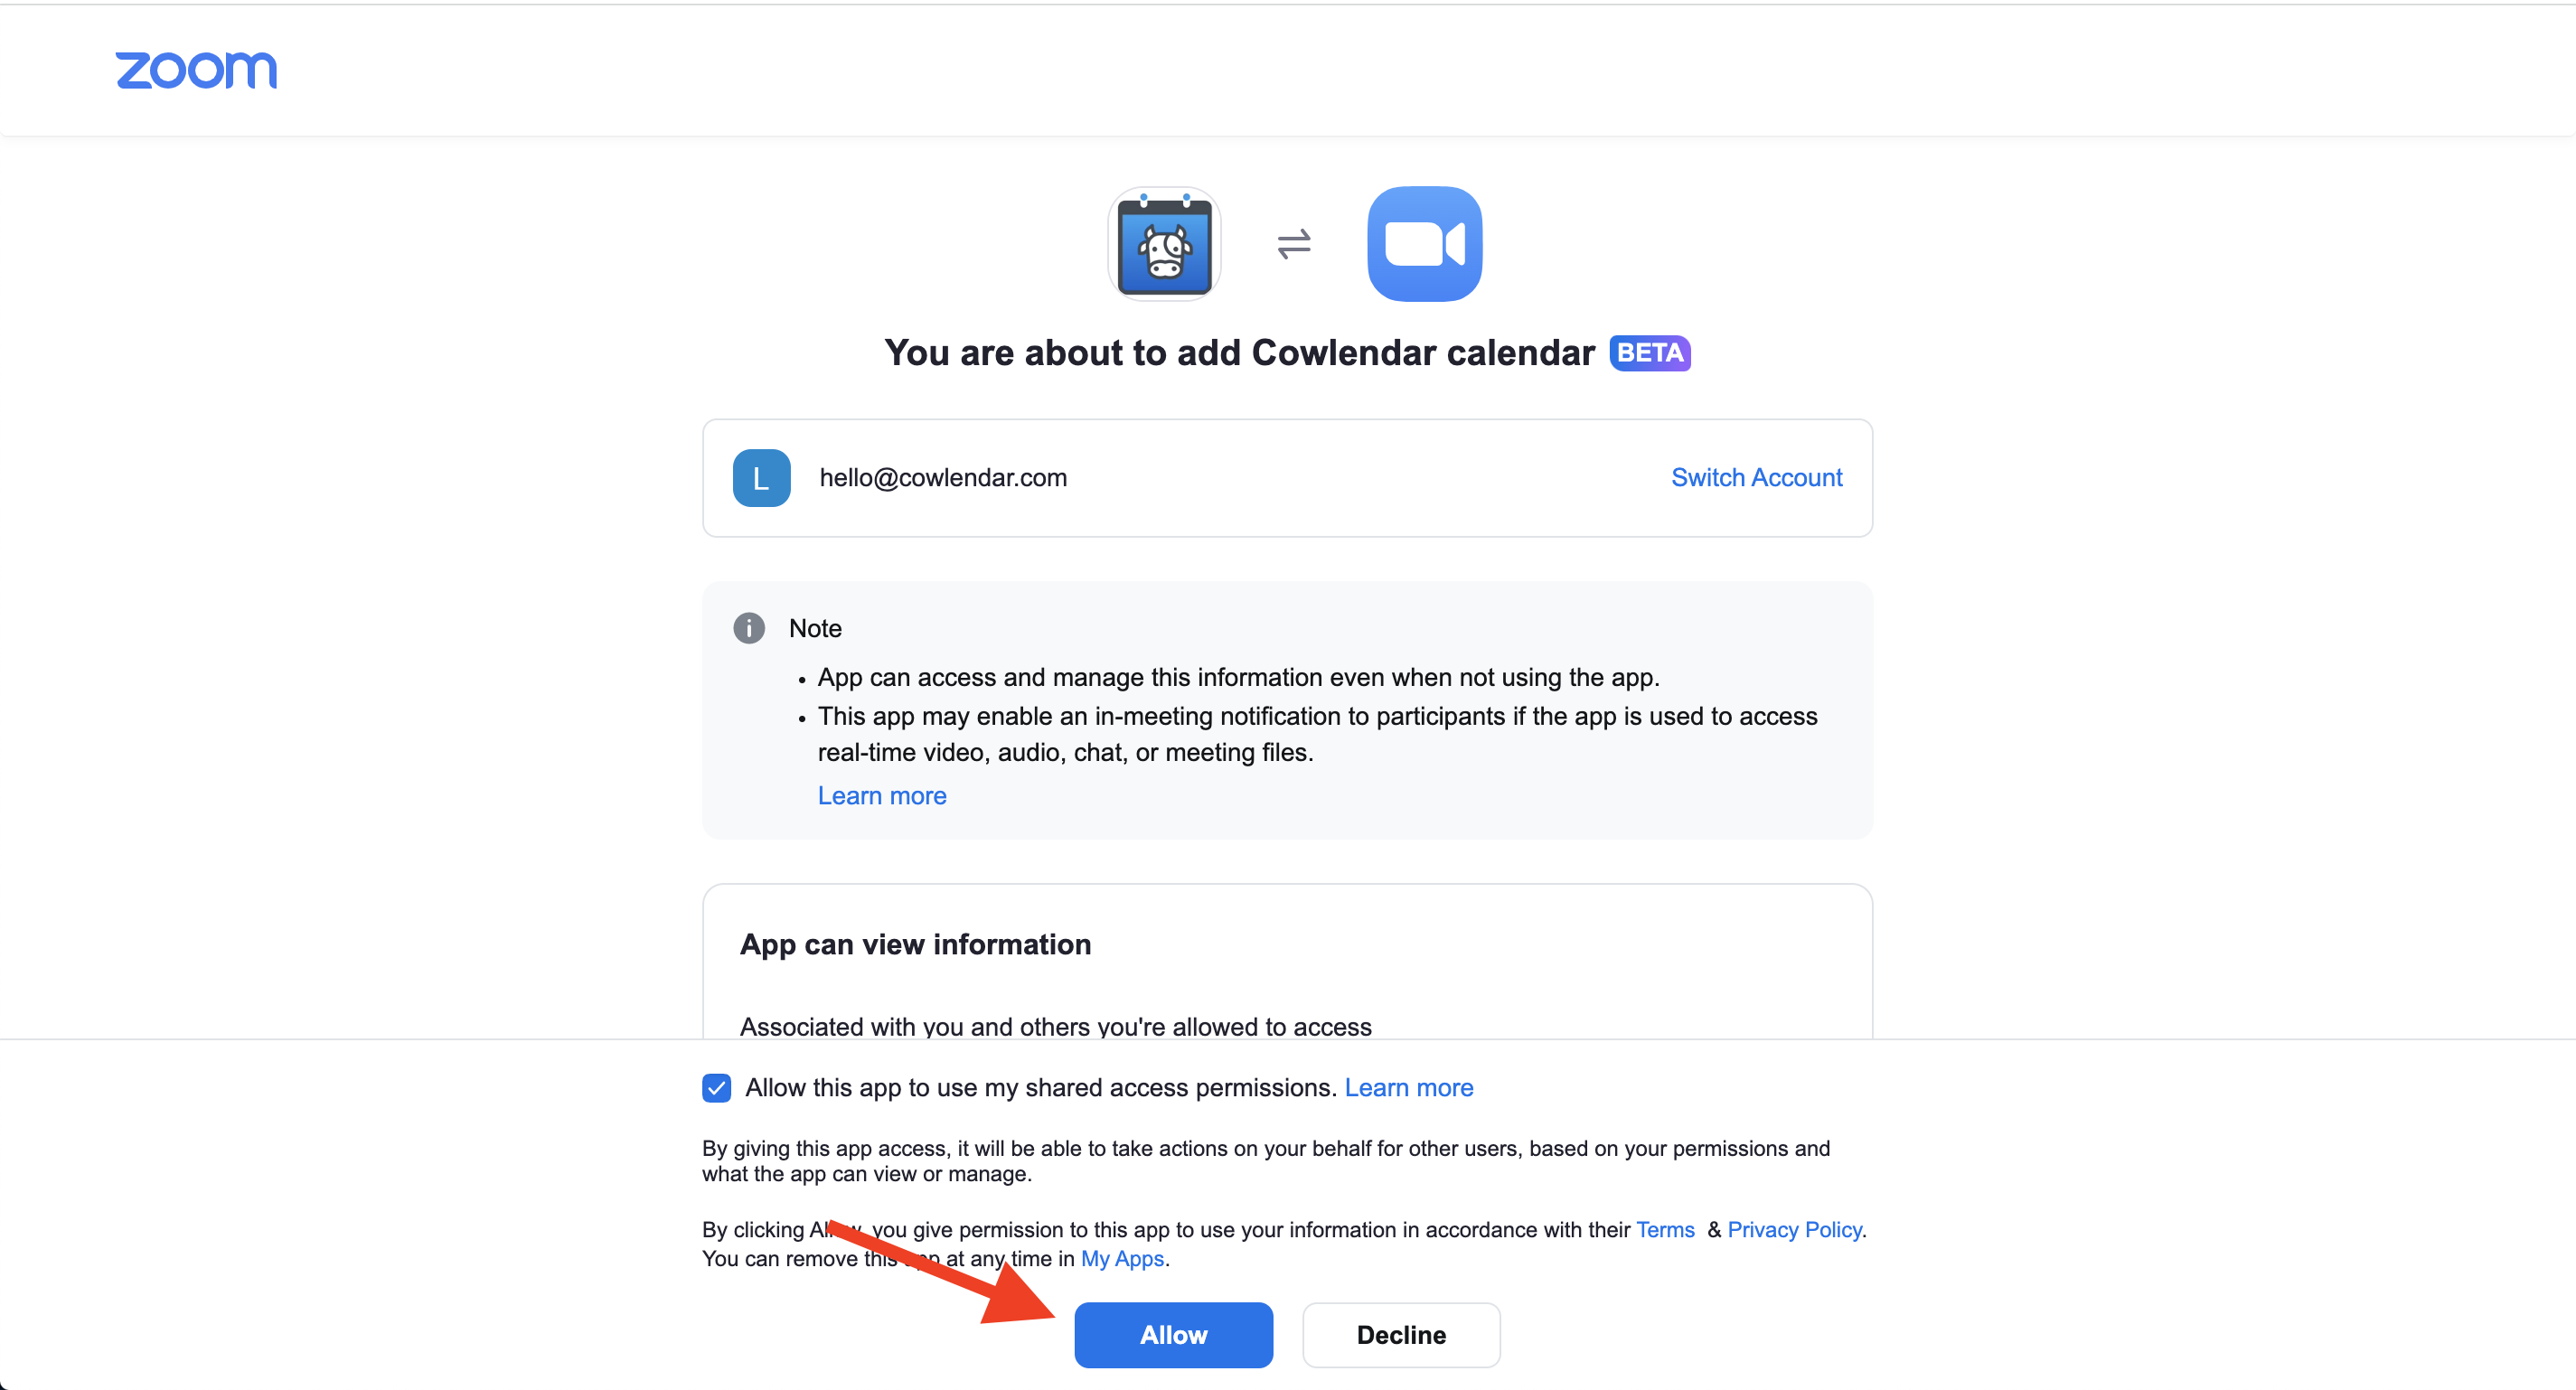
6. After successful confirmation you will be automatically redirected to app's page and you will be able to start creating appointments with Zoom links
7. For troubleshooting guide please contact us here https://apps.shopify.com/cowlendar and indicate your Shopify store name in format xxxxx.myshopify.com
How to use Zoom when setting booking
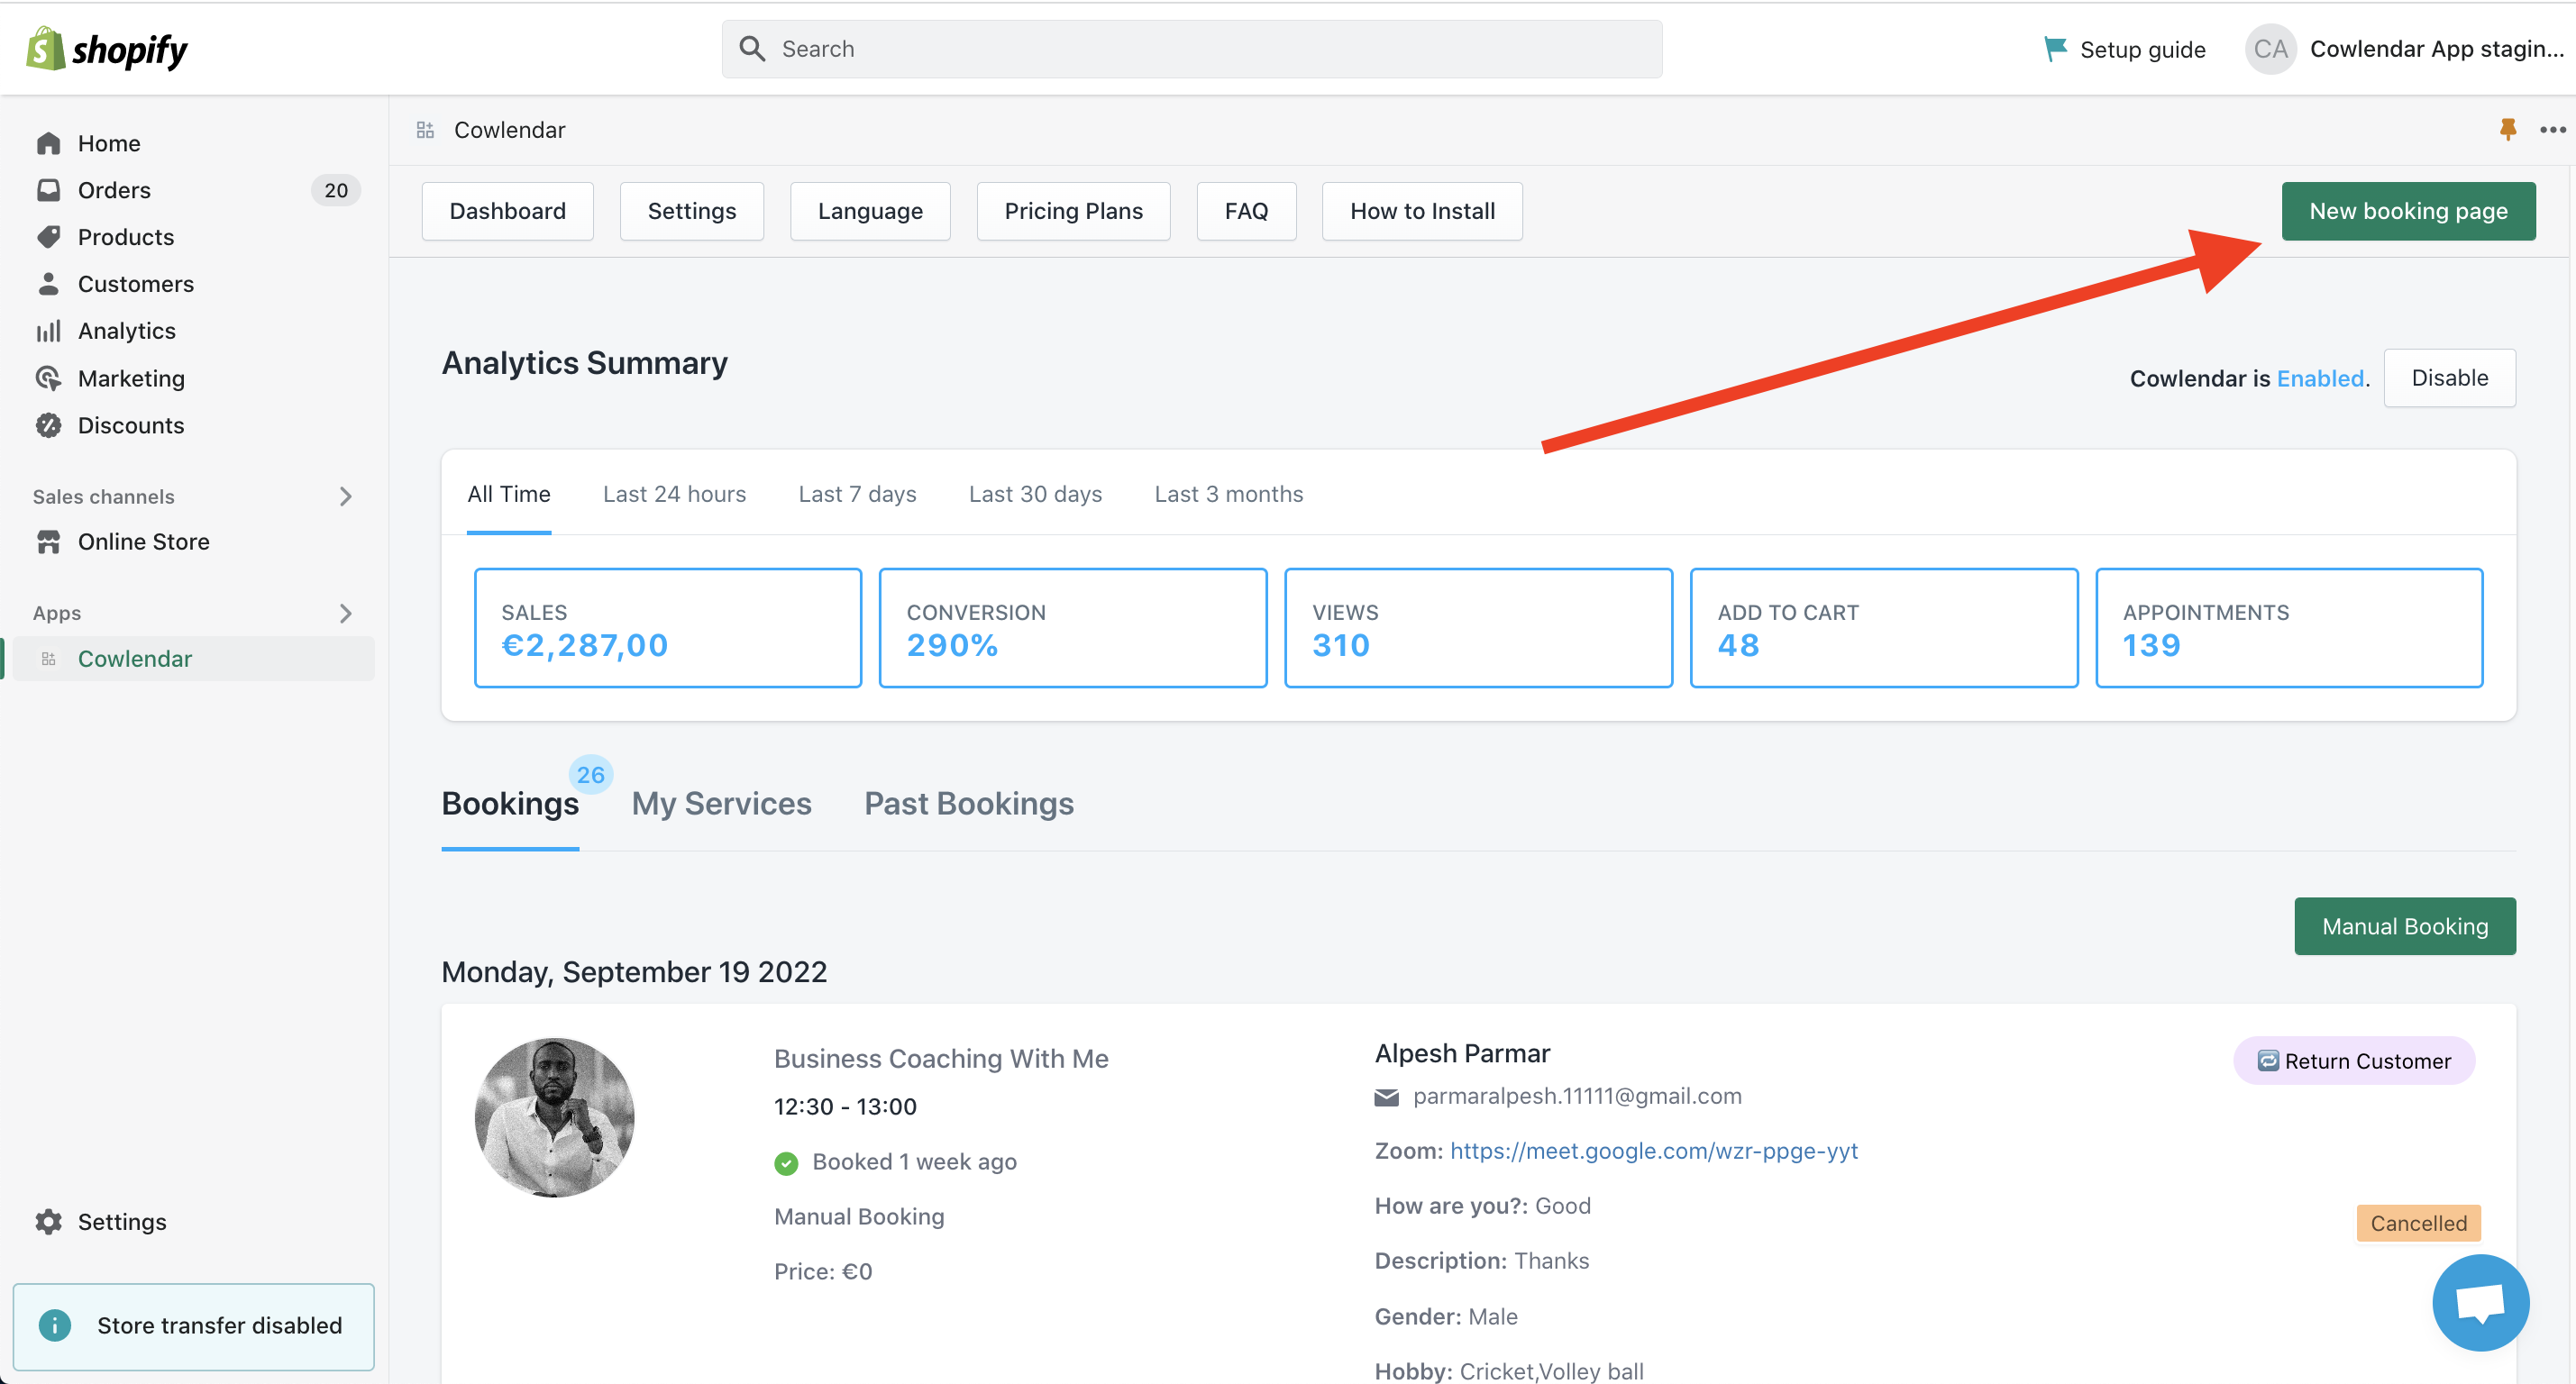
1. Please click on "New booking page"
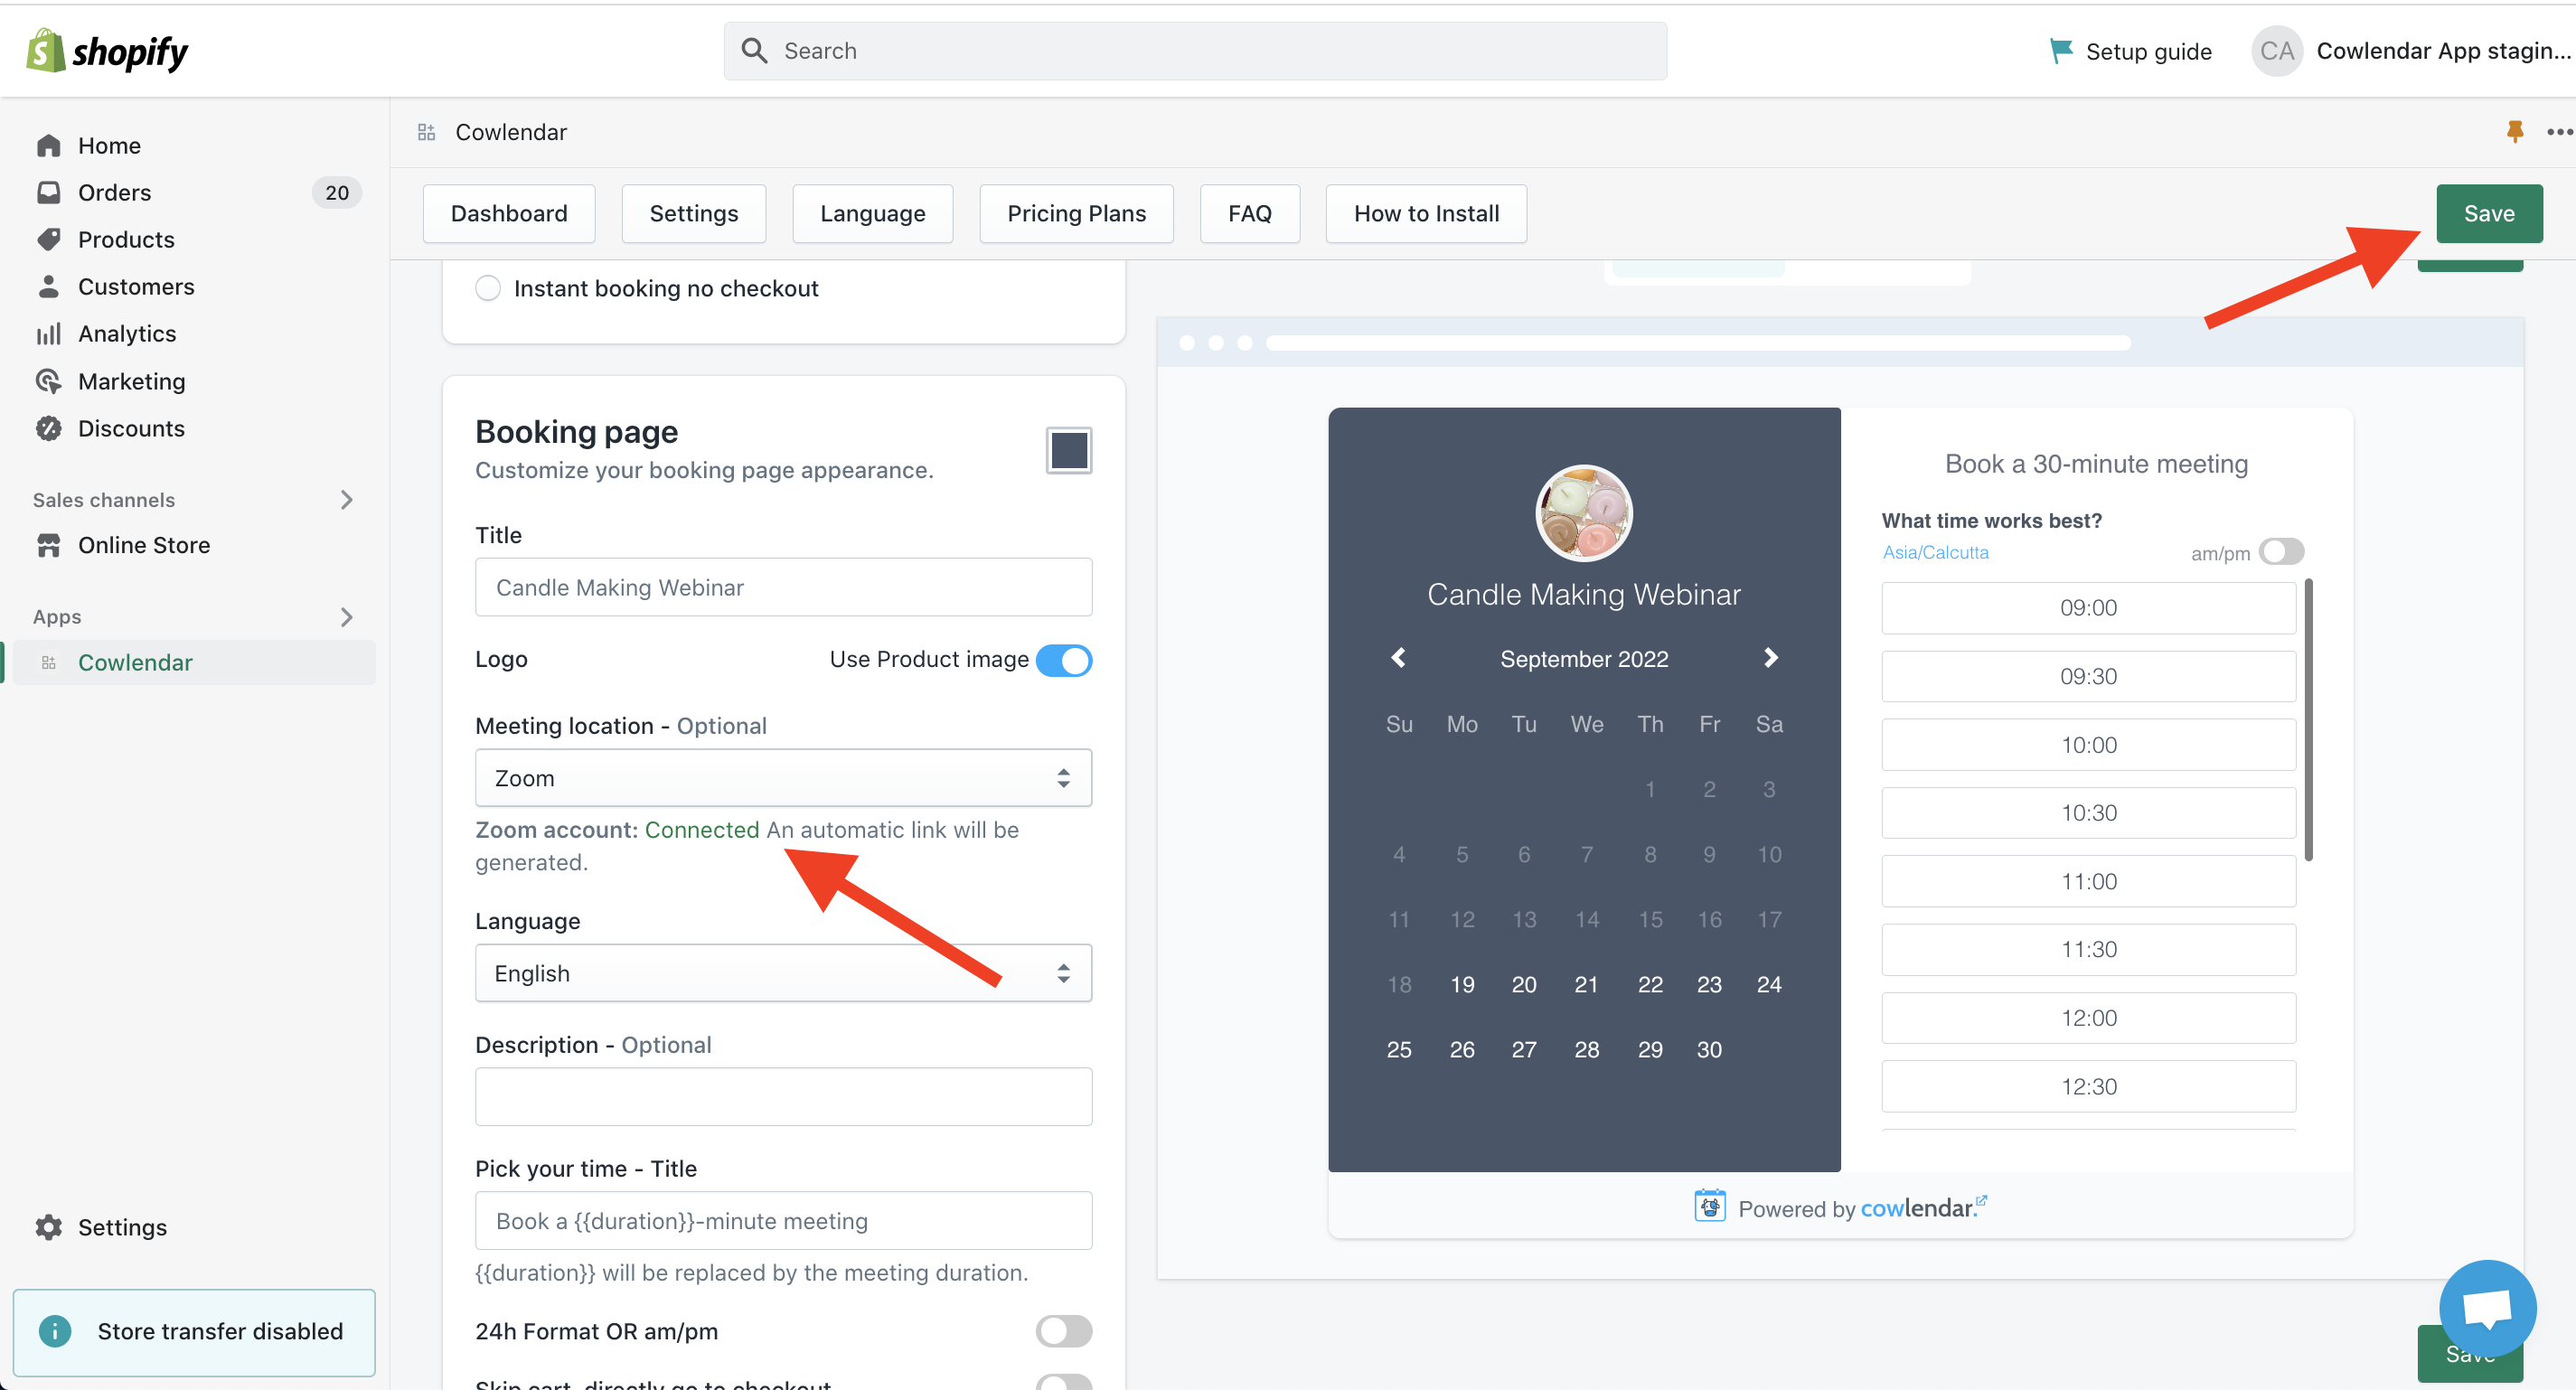
2. Please scroll down and pick "Zoom meeting" in the dropdown.

3. Please add all necessary information about the Zoom booking and hit Save
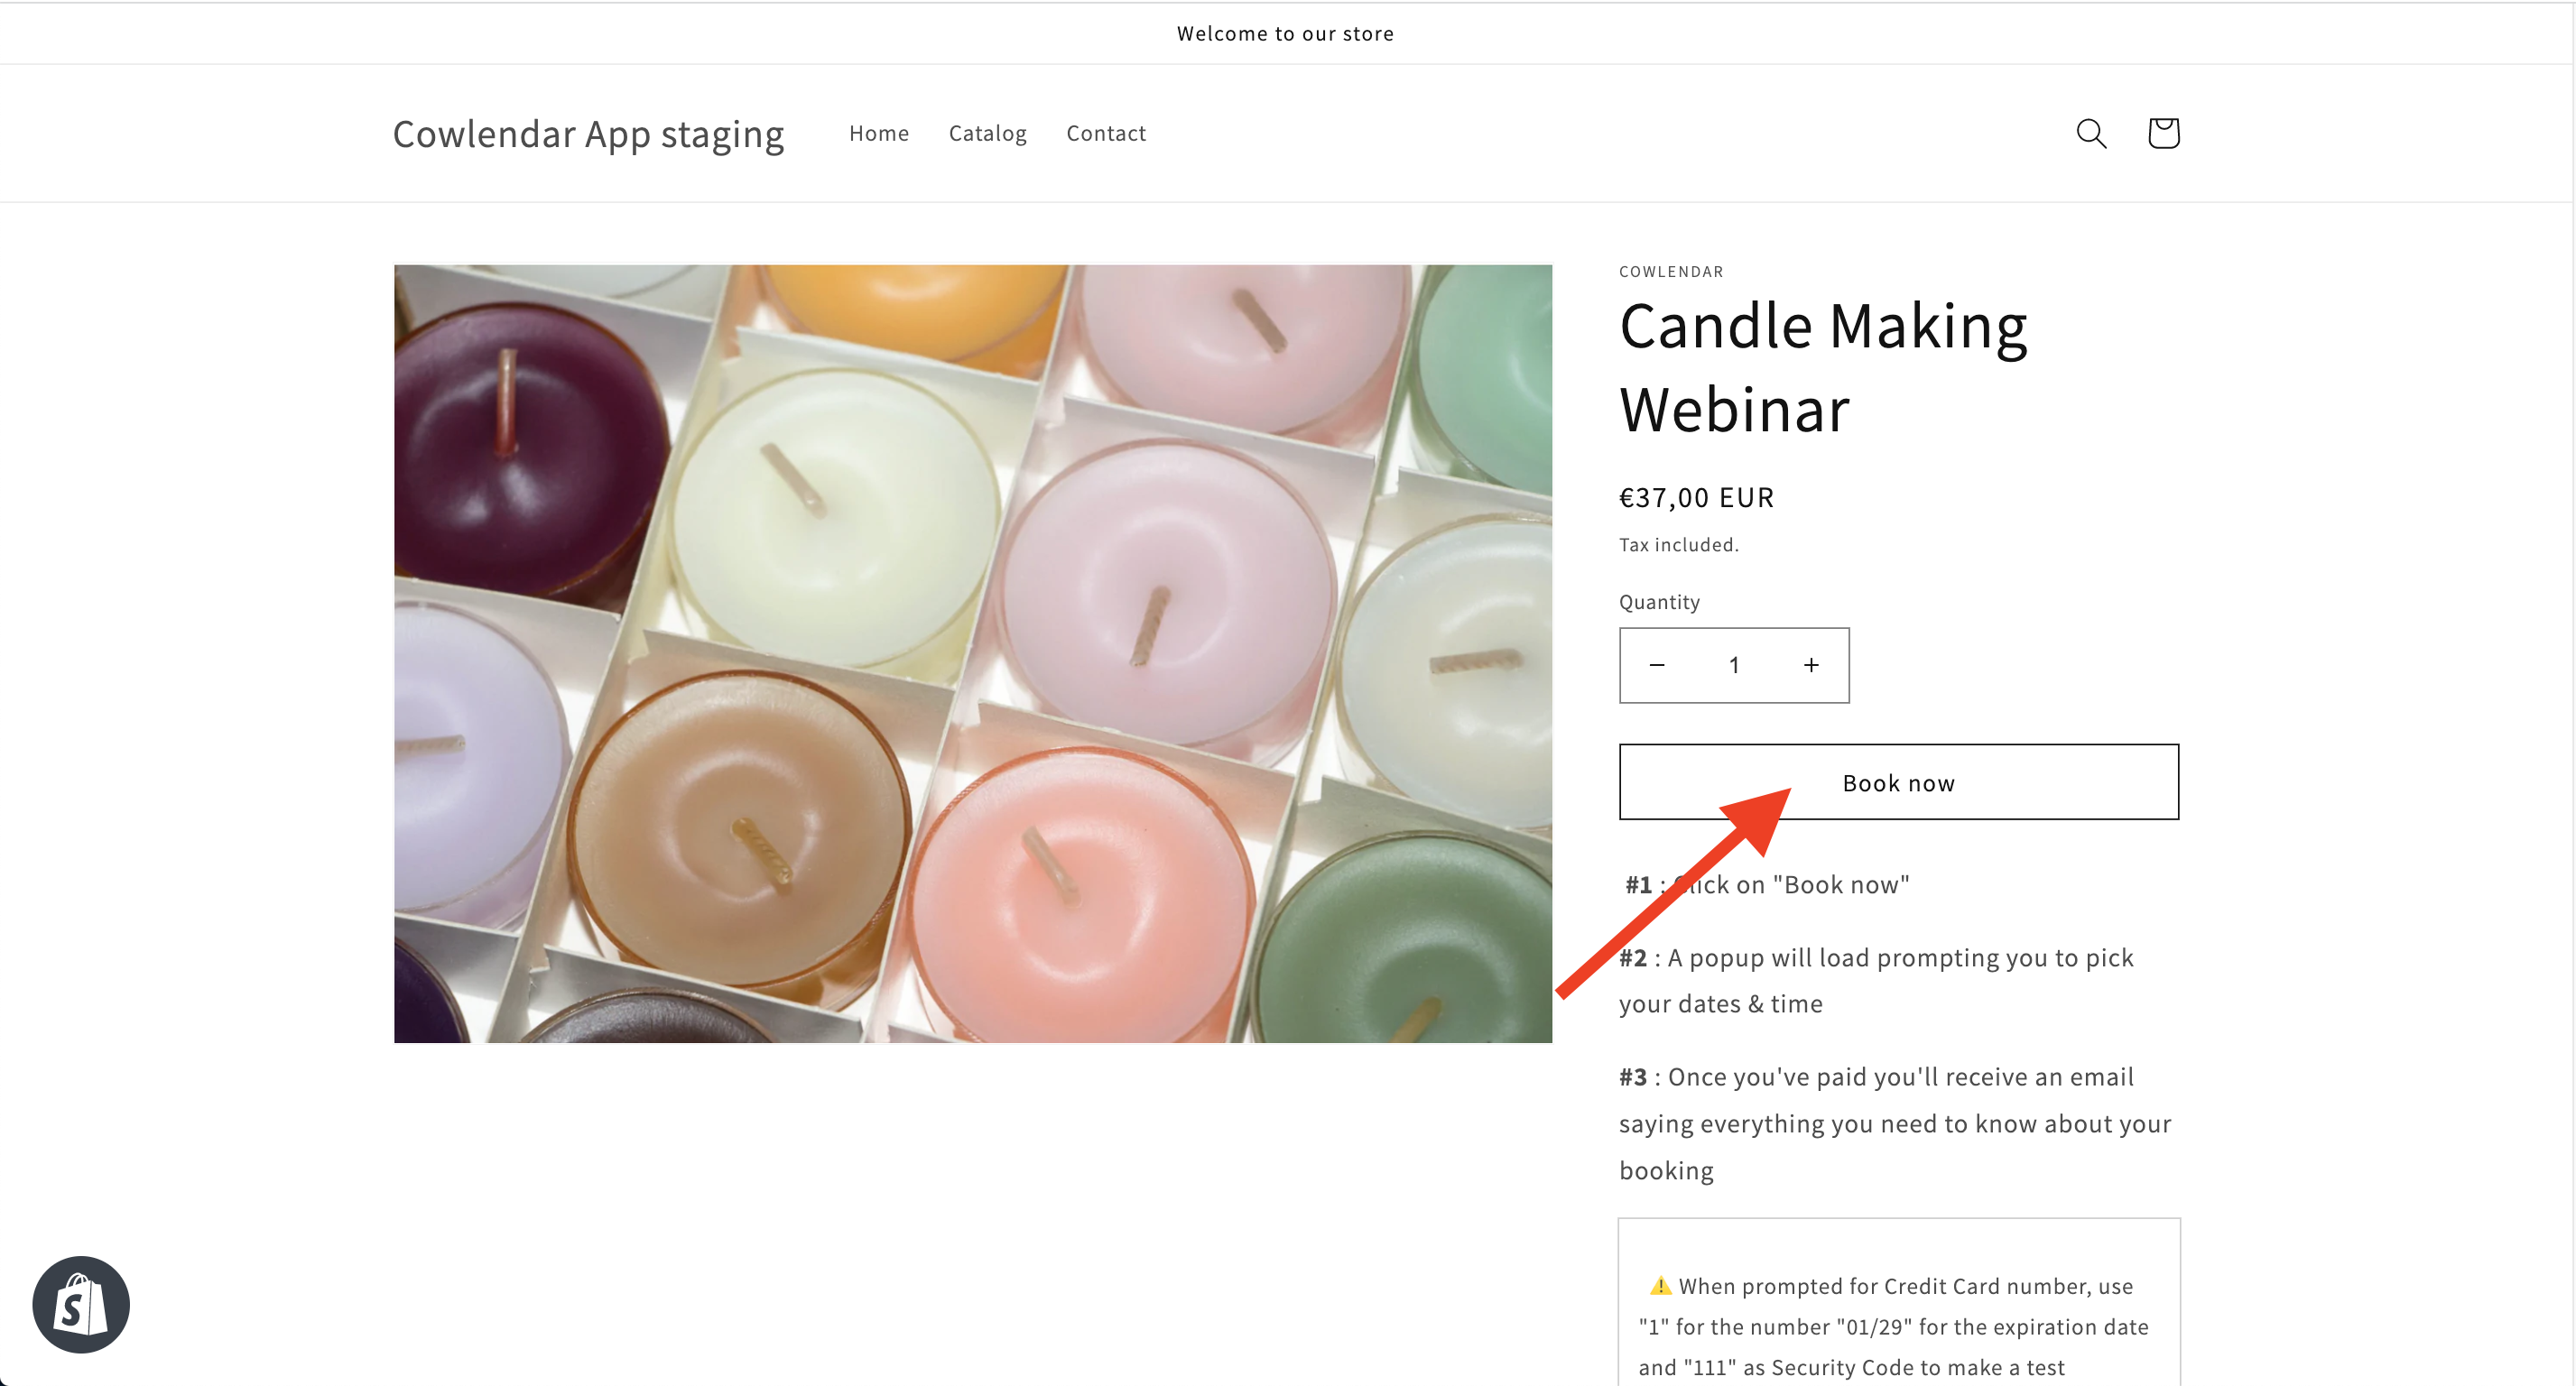
4. After successful booking creation, please test that it work properly by going back on your website and try to Book an appointment yourself.
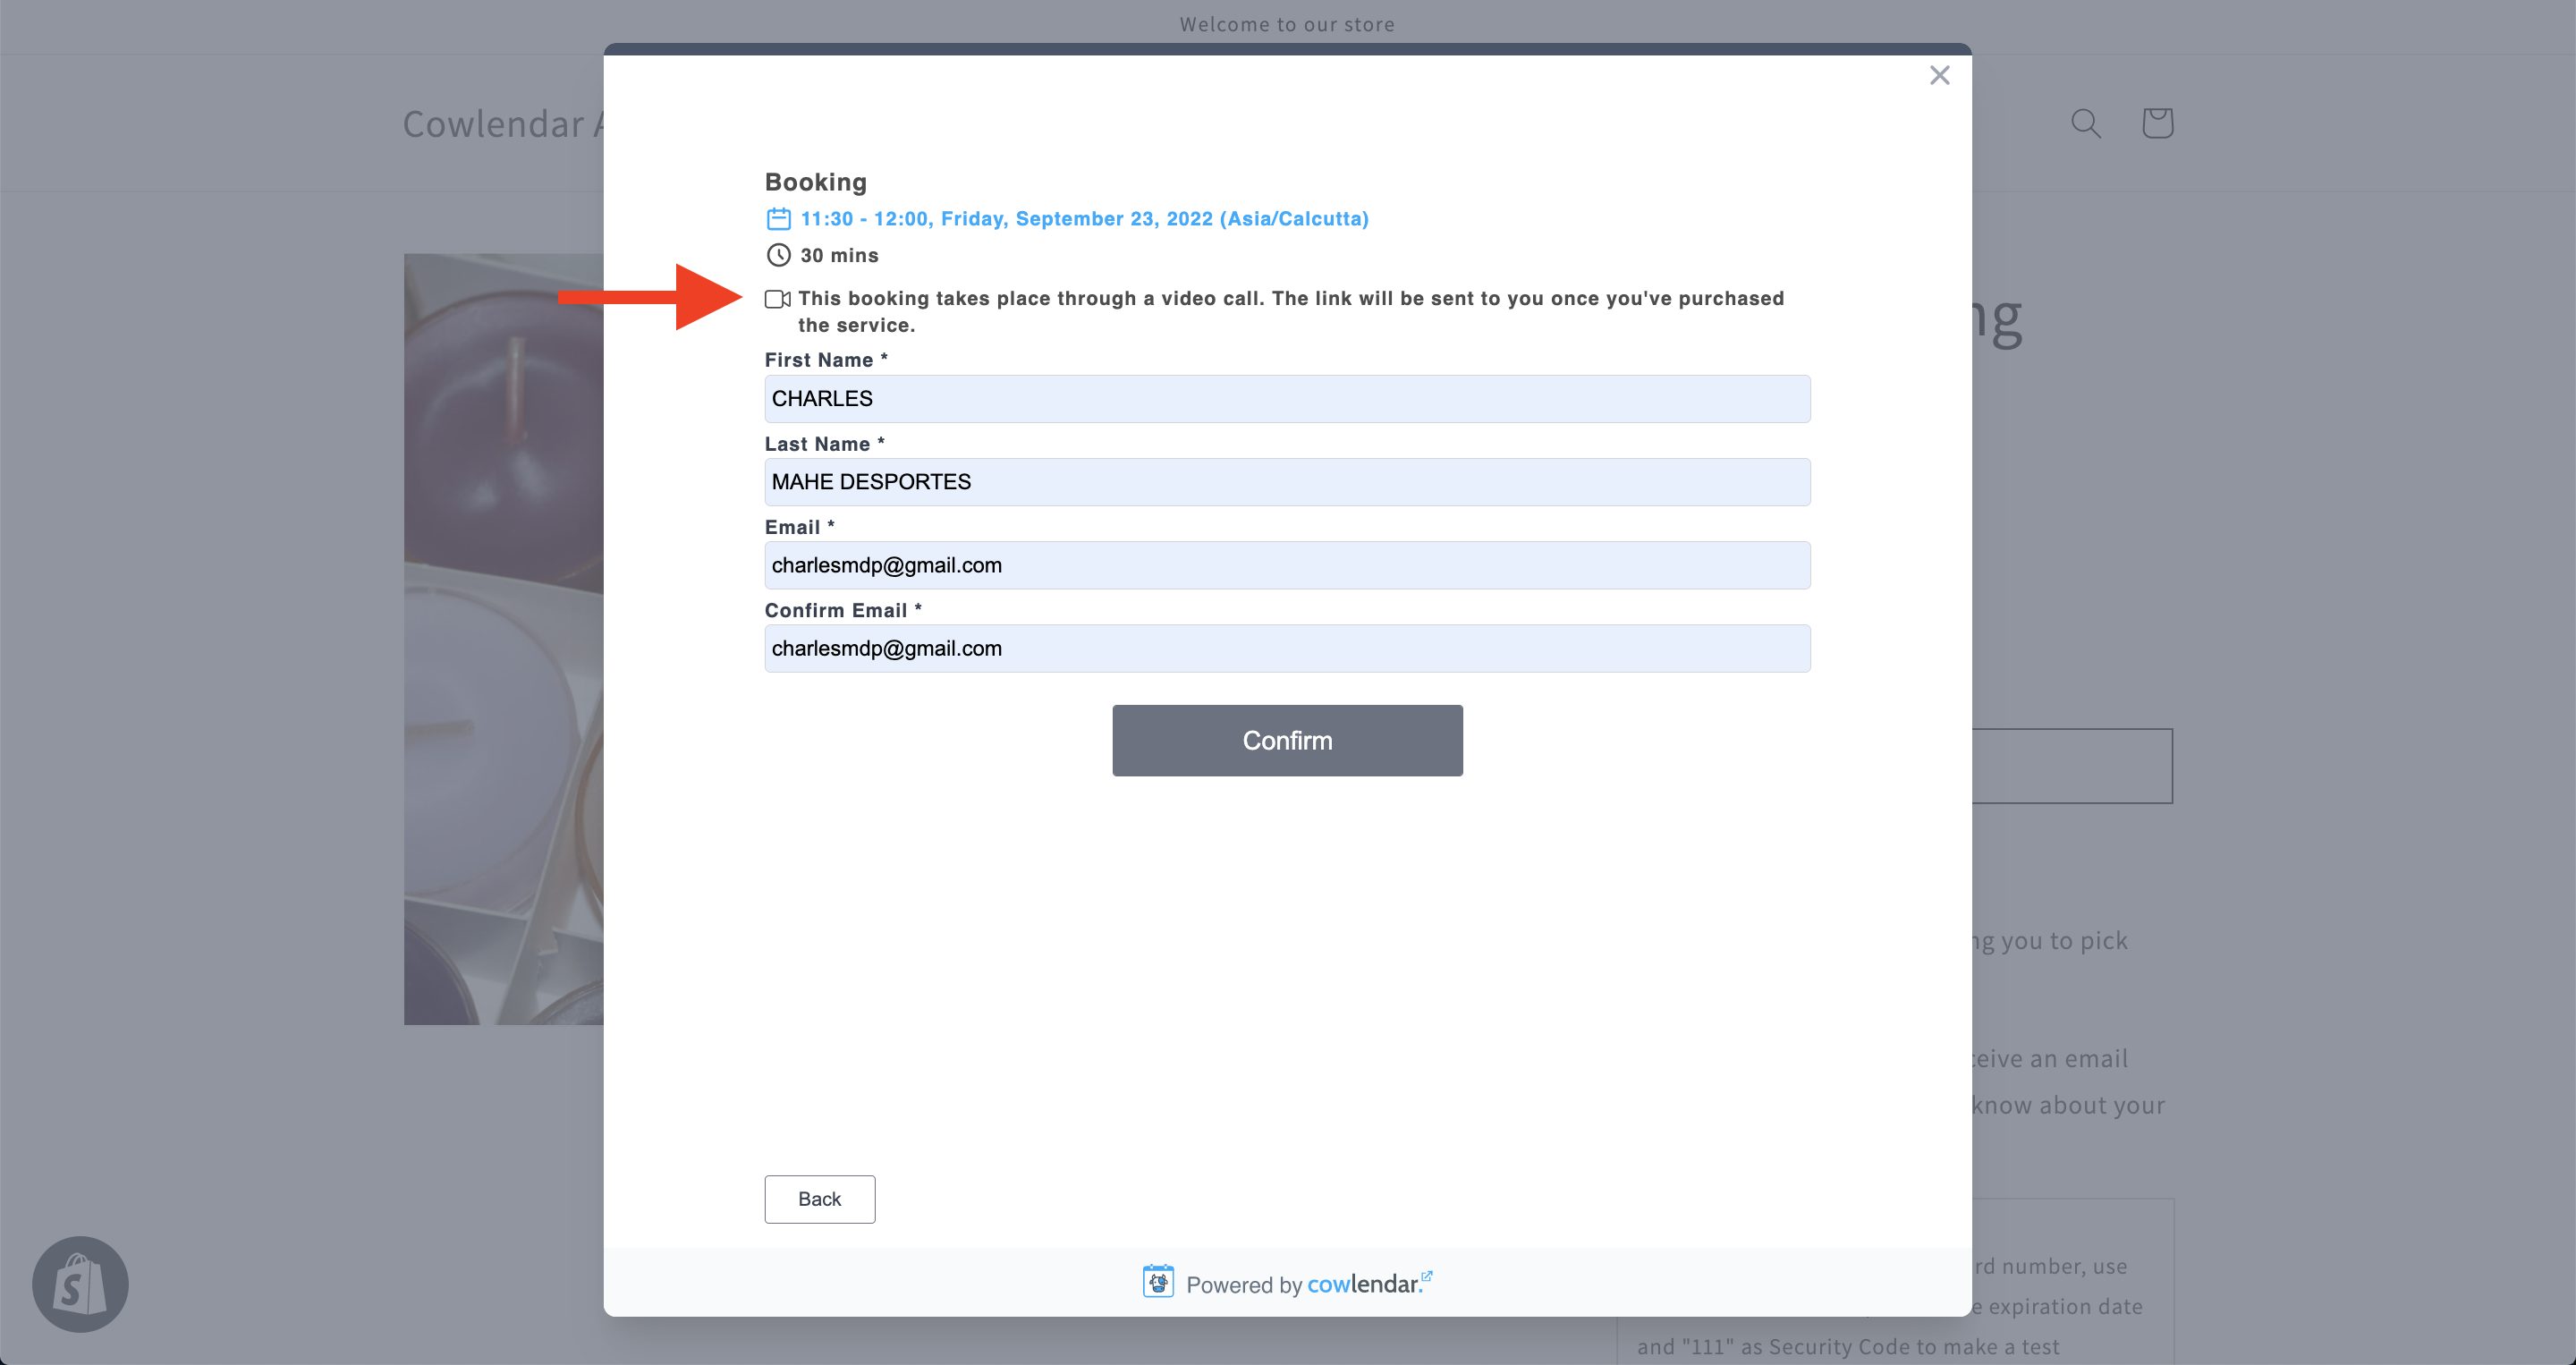
5. Book by clicking on "book now" and the product you've setup.
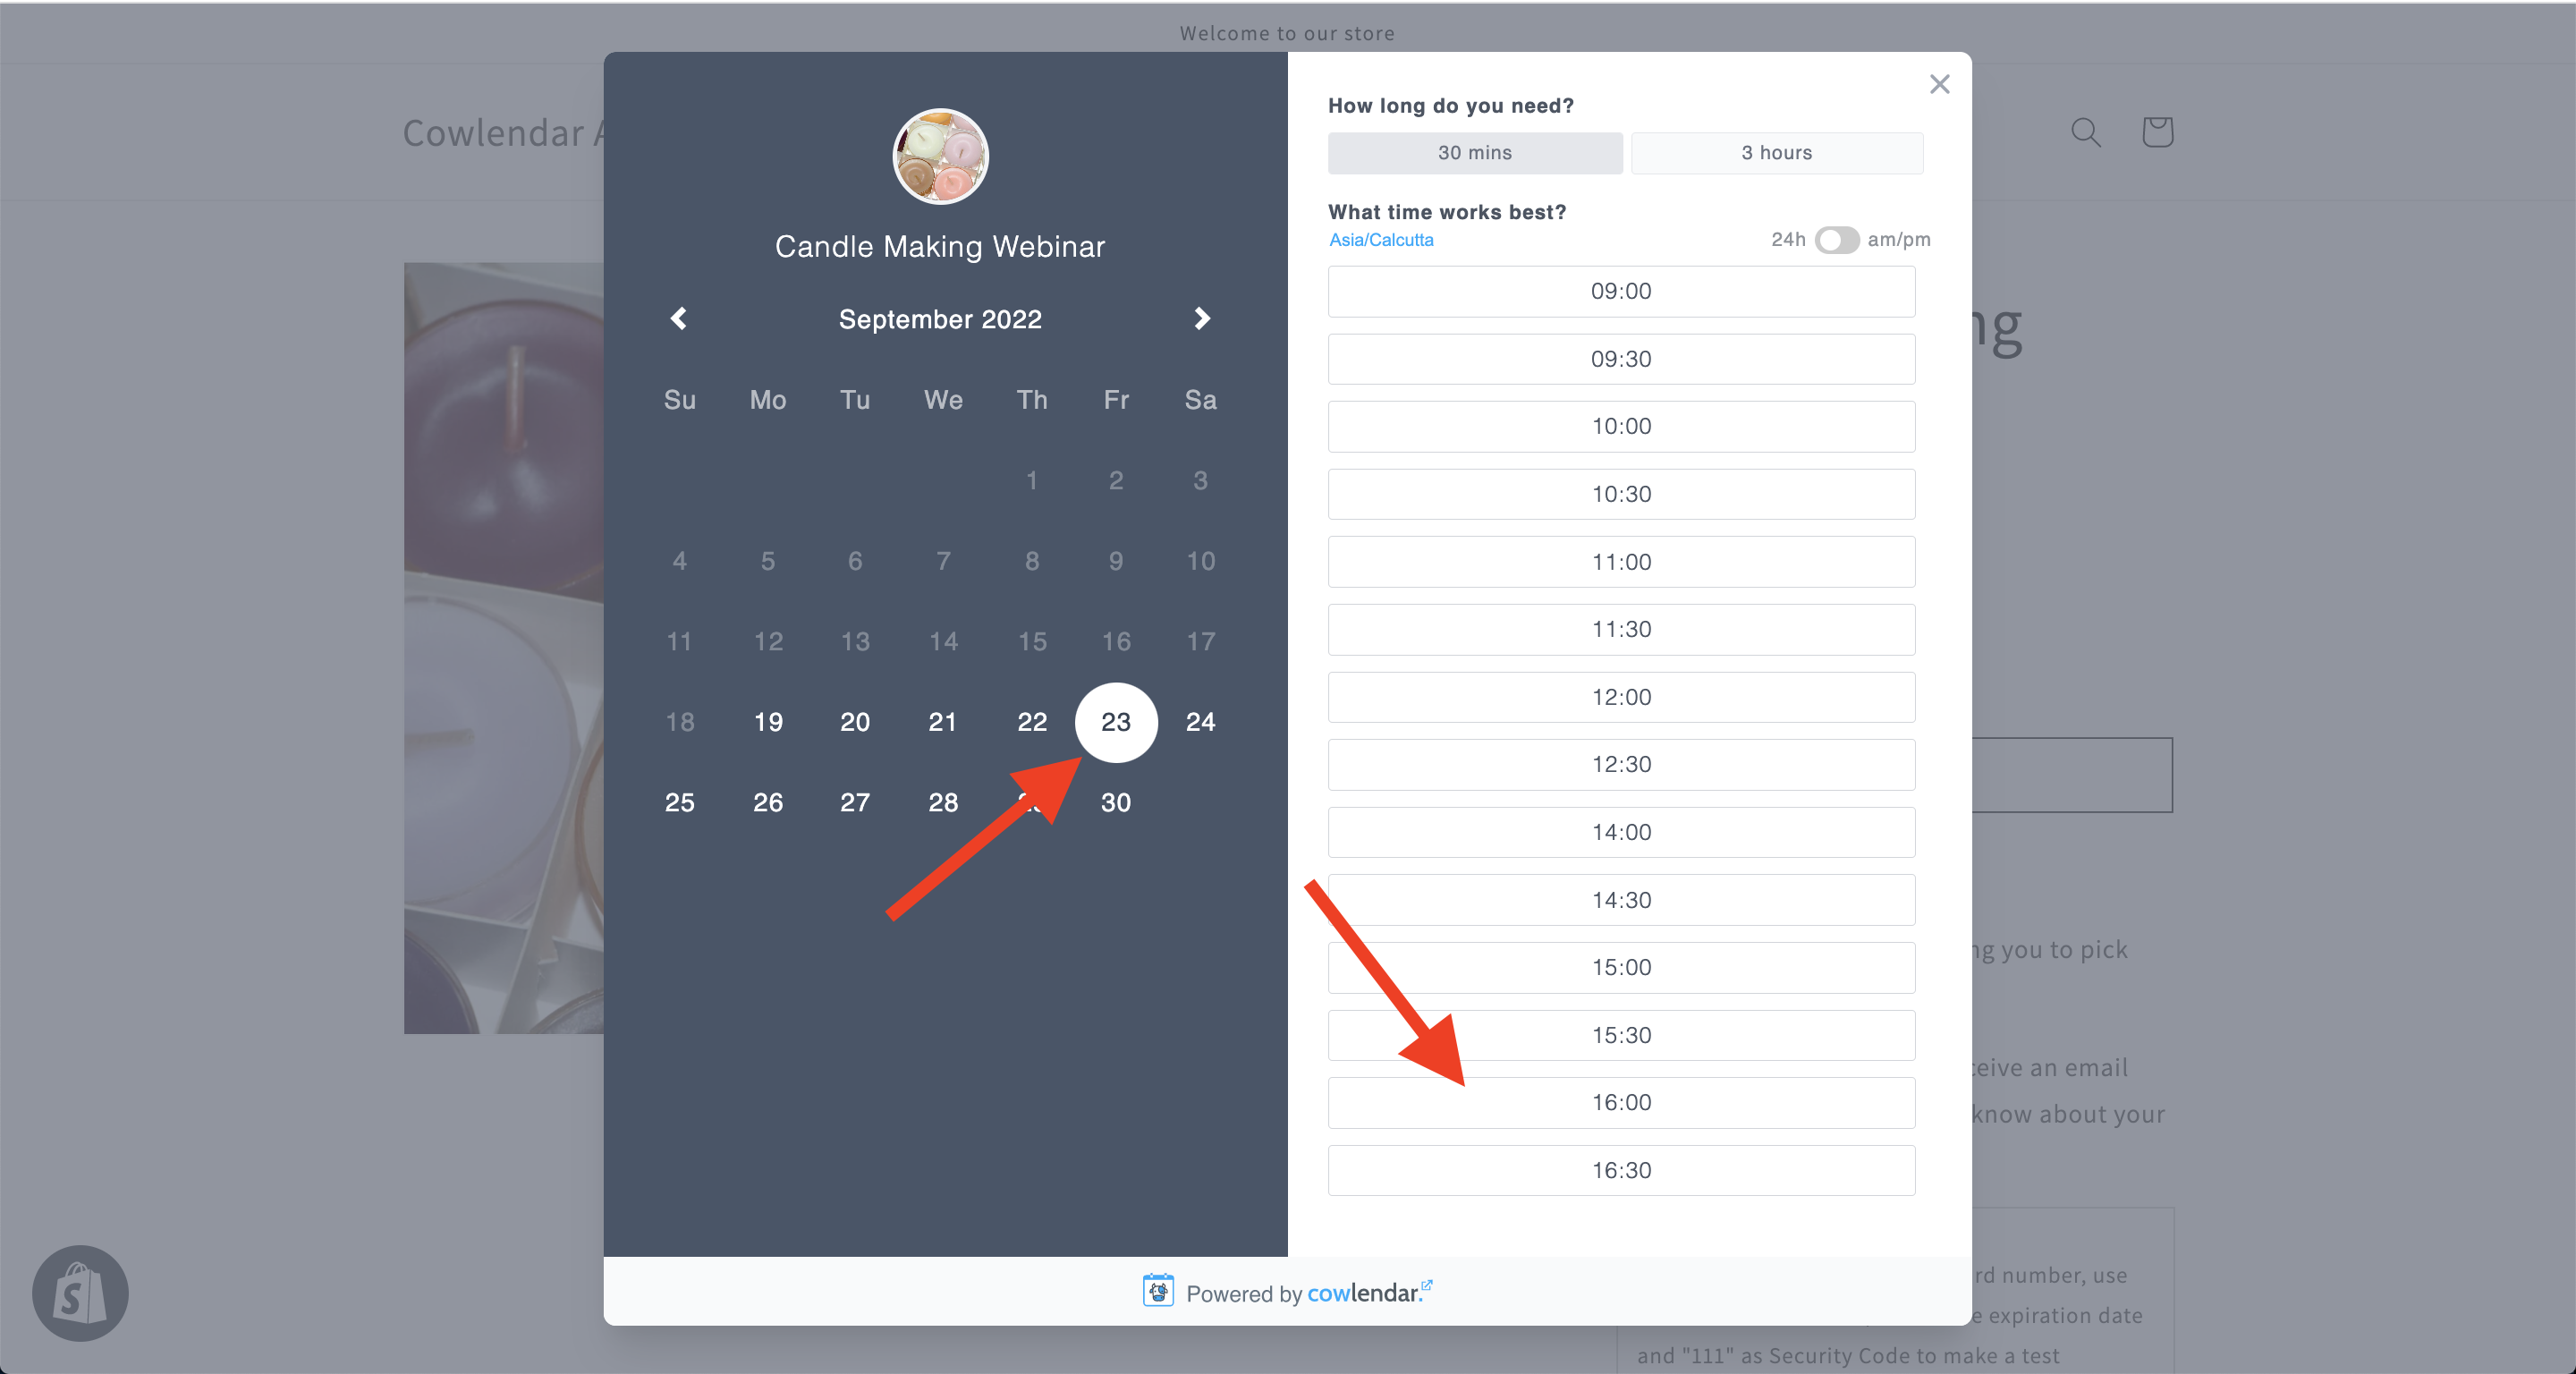
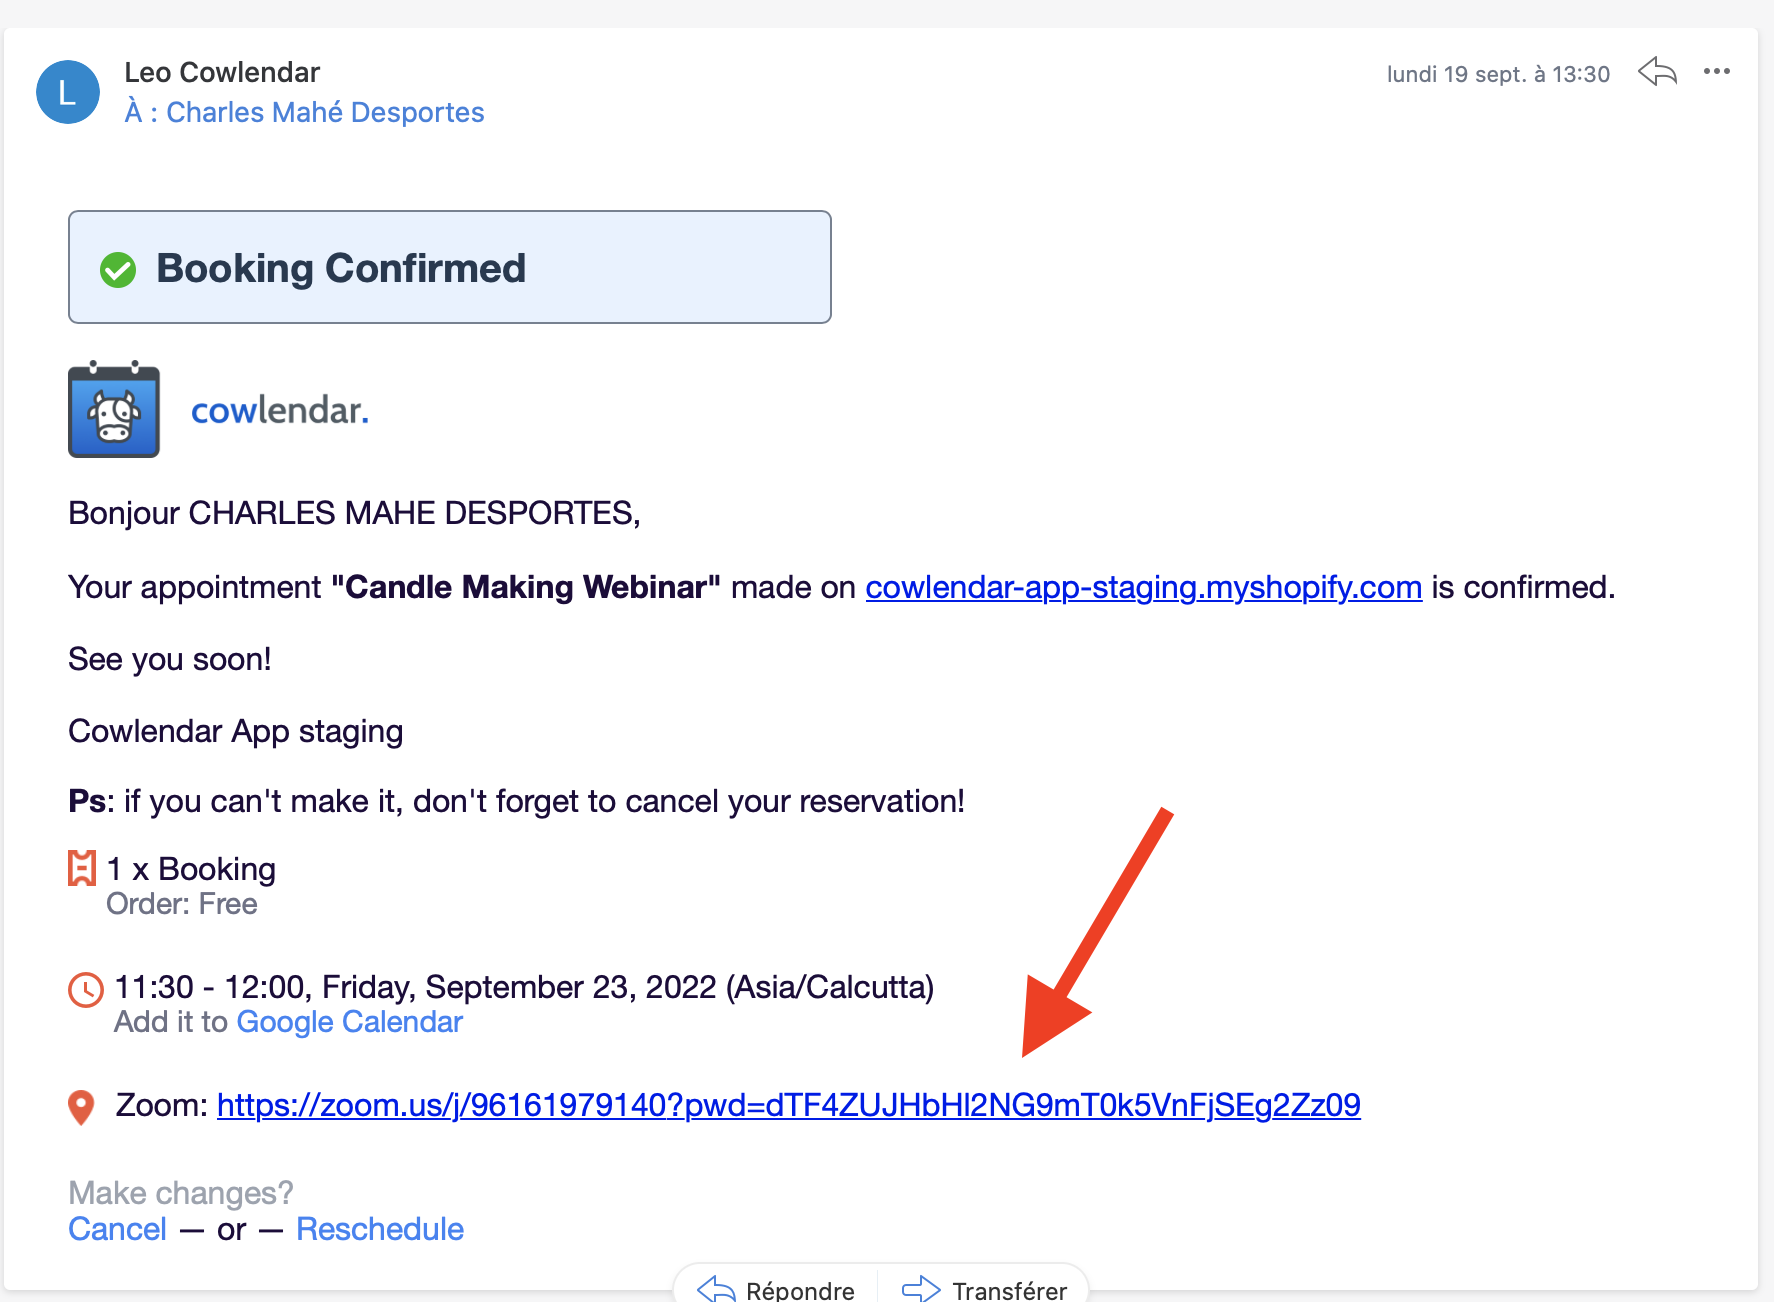
6. Confirm everything. You should receive an email with the Zoom link in it.
7. Before joining the meeting Please allow your browser to use audio / video permissions (if requested) and join the meeting
Uninstallation
1. In order to deauthenticate Cowlendar app by PENIDA, please visit Settings tab, scroll to the bottom until you see Zoom integration block. Please click the Disconnect button in order to uninstall the app.
Troubleshooting
For troubleshooting please use Support tab available in Cowlendar Shopify app's admin or our support page:
https://apps.shopify.com/cowlendar
Contact Support
https://apps.shopify.com/cowlendar
- Support hours: 0-24 Mon-Fri, 16:00 - 24:00 UTC Sat-Sun
- First Response SLA: 24 hours
- Link to create a support case: https://apps.shopify.com/cowlendar
- Link to email support: [email protected]
- Knowledge base: https://apps.shopify.com/cowlendar